Revolutionize User Experience: Install WordPress Now and Witness the Results!
WordPress installation is the process of setting up the WordPress software on a web server to build a website using the WordPress platform. In order to get started with WordPress you need to know that there are two ways of WordPress installation: one-click installation and manual installation. When you sign up for a hosting provider you can avail the facility of one-click installation from your hosting account’s dashboard. Most WordPress hosting providers offer this particular feature. But if you want to install WordPress manually, then you need to download WordPress files from its official website, upload them to the server using an FTP client, set up a database, and then configure the settings on your own.
After WordPress is installed, you can log in to your dashboard and then start customizing your website as per your need. It includes installing security and SEO plugins, adding themes, creating pages and designing layouts, and adding additional elements like logos and fonts. So, WordPress installation is the initial step of creating a website and the process is very straightforward. Installing WordPress might look confusing at first, but with a bit of patience, beginners can successfully setup a WordPress Website.
How to Install WordPress?
WordPress installations is a very easy and straightforward process. You don’t have to be an expert and don’t need any prior coding experience in order to get started with the installation process. Here is a step-by-step guide for beginners on how to install WordPress:

Choosing a web hosting provider
When selecting a web hosting provider for your WordPress website, it is essential to take into account several crucial factors. First and foremost, you need to ensure that the provider offers specific support for WordPress, such as one-click installation and automatic updates. Additionally, it is crucial to consider the provider’s reliability, as you will need a proven track record of high uptime and fast page load times. Security is also paramount, and it is best to opt for a provider with robust security features, including SSL certificates and malware scanning.
Customer support is equally vital, and you should search for providers with round-the-clock support available through multiple channels. Finally, you need to consider your budget, but it is prudent to avoid providers with extremely low prices, as they may not offer the best service or support. Popular web hosting providers for WordPress include Bluehost, SiteGround, WP Engine, and DreamHost, but it is best to research and compare different providers to find the ideal fit for your requirements.
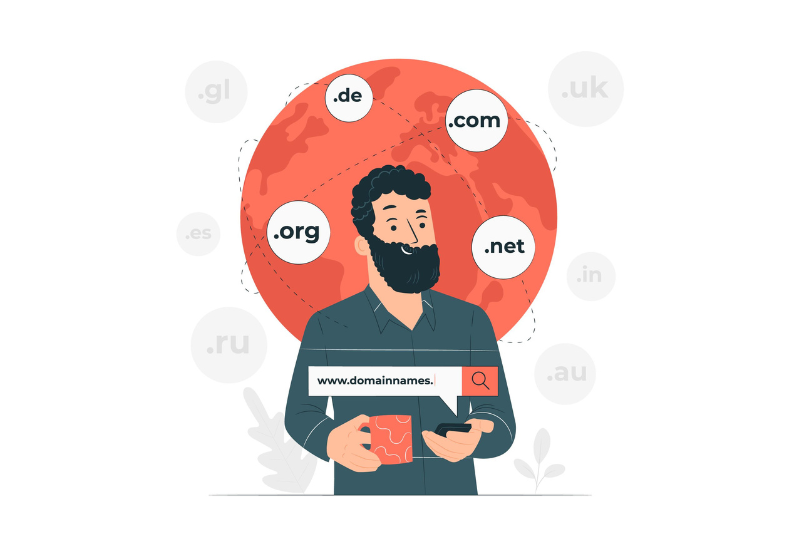
Choose a domain name
Signing up for a hosting Selecting a domain name for your WordPress website requires careful consideration of several important factors. Firstly, aim for a short and simple name that is easy to remember and type, and that looks good on marketing materials. Secondly, ensure that the name is easy to spell to avoid frustrating visitors who may not remember the correct spelling. Thirdly, including relevant keywords in your domain name can aid with search engine optimization and help people find your site more easily.
Fourthly, choose a unique and memorable name instead of using generic options that are already taken. Fifthly, select an extension that suits your target audience, such as a global .com or country-specific options like .co.uk or .ca. Finally, verify domain name availability using a reputable registrar like GoDaddy or Namecheap before making your final decision. By following these guidelines, you can select a great domain name that will set your WordPress website apart and contribute to its success.

Signing up for a hosting plan
Signing up for a hosting plan for your WordPress website is a straightforward process that can be completed in a few simple steps. Firstly, research and compare hosting providers such as Bluehost, SiteGround, and HostGator to find the one that best meets your needs and budget. Secondly, select a hosting plan that aligns with your website’s requirements, considering features like storage space, bandwidth, and the number of websites allowed.
If you haven’t registered a domain name, some hosting providers offer a free domain name with their hosting plans. Thirdly, provide your personal and payment details to complete the sign-up process. Once you’ve signed up, you can install WordPress on your website using the hosting provider’s one-click installer, allowing you to start building your website.
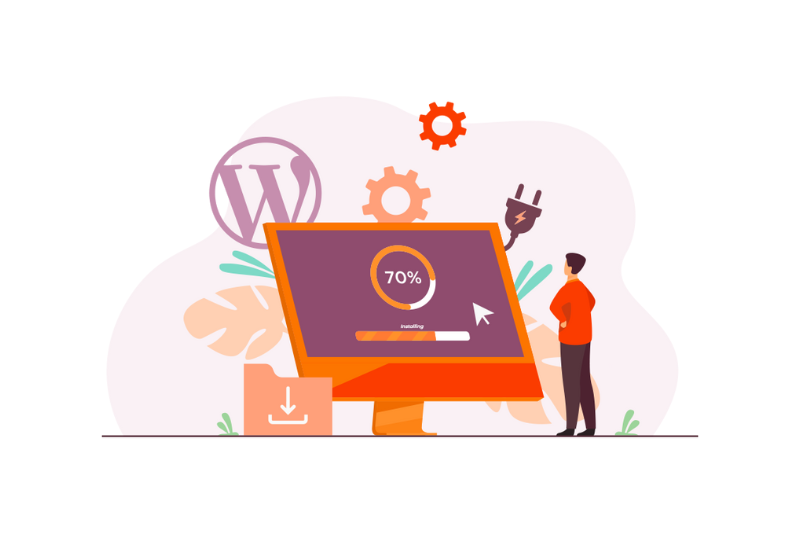
Installing WordPress
To install WordPress on your website, the first step is to choose a hosting provider such as Bluehost, SiteGround, or HostGator. After signing up for a hosting account, log in to your account dashboard and look for a button or link that says “Install WordPress” or “One-Click Install.” Choose the domain where you want to install WordPress, and provide the installation details such as your website name, username, and password for the WordPress admin dashboard.
Once you’ve provided all the necessary information, click on the “Install” or “Finish” button and wait for the installation process to complete. You can then log in to your WordPress dashboard by visiting your website URL and adding /wp-admin to the end of the URL. Use the username and password you created during the installation process to log in to your WordPress dashboard.
Configuring your WordPress site
Configuring a WordPress site involves several steps to ensure that your website is functioning properly and meets your needs. Firstly, choose a suitable theme that determines the look and feel of your website. Secondly, install necessary plugins like SEO plugins, security plugins, and caching plugins to add functionality to your website. Thirdly, set up basic site settings from the WordPress dashboard, such as your site title, tagline, and permalink structure.
Fourthly, create pages for static content like “About” and posts for regularly updated content like blog posts. Fifthly, configure widgets and menus that help visitors find their way around your site. Sixthly, set up user roles and permissions to ensure that only authorized users can access certain areas of your site if you plan on having multiple users. Finally, optimize your site for performance using caching plugins, image optimization, and minifying code to improve your site’s speed and performance.
Choosing a theme
Choosing the right WordPress theme for your website can be a daunting task, but following some basic tips can help you make a more informed decision. First, consider the purpose of your website and the type of content you will be publishing. Then, look for a theme that is responsive, meaning it adapts to different screen sizes. It’s also important to choose a design and layout that matches your branding and is easy to navigate.
Checking for compatibility with plugins you plan on using is also crucial. You should also choose a theme that is regularly updated and offers support in case you encounter any issues. While there are many free WordPress themes available, paid themes often offer more customization options, better support, and are more frequently updated.

Adding Plugins
Adding plugins to your WordPress website is a simple process that can enhance your site’s functionality. First, navigate to the “Plugins” section on your WordPress dashboard and click “Add New.” You can search for plugins using keywords or browse through the available options. Once you find the desired plugin, click “Install Now” and then “Activate” to activate the plugin.
Configure the plugin settings as needed, which may include additional steps like creating an account or adding code to your website. To remove a plugin, deactivate and delete it from the “Plugins” section of your dashboard. Be cautious when installing plugins and only select reputable ones to avoid any negative impacts on your website. Keeping your plugins updated is also crucial for website security and performance.
FAQs
Q:What distinguishes WordPress.org from WordPress.com?
A:WordPress.org is the self-hosted version that offers more control over a website’s features and design than the hosted WordPress.com option.
Q: What level of coding experience is required to install WordPress?
A: Most hosting providers provide a one-click installation solution for WordPress which makes the installation process super easy. Hence, you don’t need any coding experience at all to get started
Q: How much do we have to pay to install WordPress?
A: The cost of WordPress installation can vary depending on the hosting provider and the hosting plan you have opted for. Those providers offer a one-click installation feature for free while some providers may charge some fee. The cost of installing WordPress can range from a few dollars a month to hundreds of dollars per year.
Q: Can WordPress be installed on an existing website?
WordPress can easily be installed on an existing website as long as your hosting provides supports WordPress and your website is optimized for WordPress installation
Q:Is WordPress installation a complicated process?
A:Installing WordPress is generally straightforward and can be accomplished in a few steps. Hosting providers often offer one-click installation options to simplify the process further.
Q:What are the minimum system requirements for installing WordPress?
The minimum requirements for installing WordPress are PHP version 7.4 or higher, MySQL version 5.6 or higher OR MariaDB version 10.1 or higher, and HTTPS support.
Q:Is it possible to install WordPress on a personal computer?
Yes, WordPress can be installed on a personal computer through applications like XAMPP or WAMP, but it’s typically not recommended for beginners and is more suitable for developers or advanced users.
Q:Can I manually install WordPress, or must I use a one-click installation?
Although one-click installation options are the simplest method, WordPress can also be installed manually by following the instructions on WordPress.org.
Conclusion
WordProcess installation is an extremely easy process and you don’t need any prior coding experience to get started with it. If you follow all the above-mentioned steps in this installation guide, you will be able to create a professional-looking website in no time. So, make sure you choose a good domain name, opt for a trusted hosting provider, and install essential plugins to increase the functionality of your website.