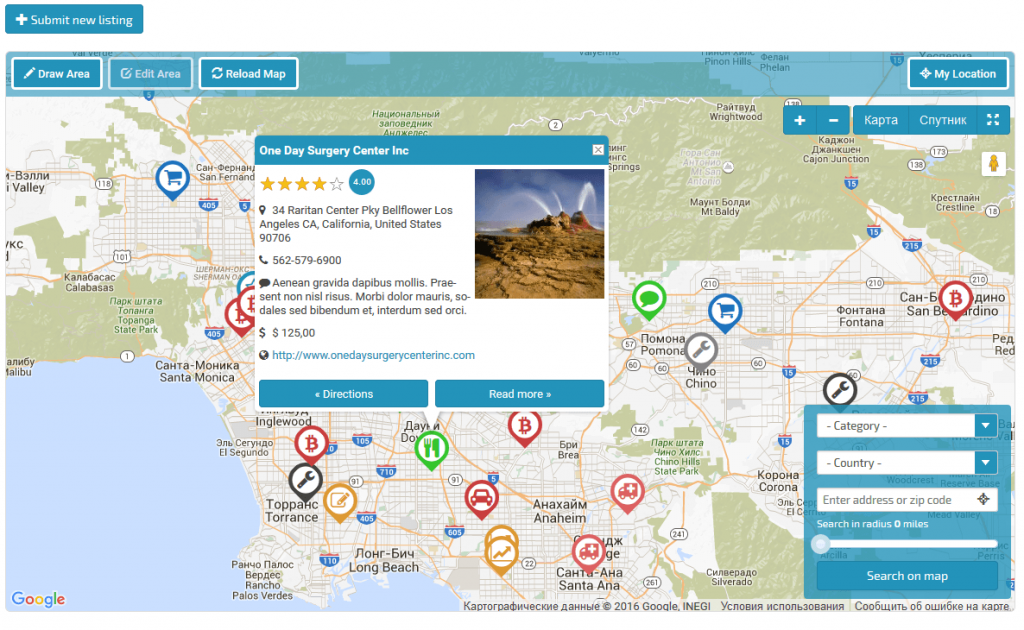
Including maps on websites has become increasingly popular in recent years. A lot of information may be found on maps, which give instructions and precise location information. There are a variety of reasons why users would want to include many maps on their WordPress sites.
Users seem to believe that adding more than one map to a WordPress website is tough. The most obvious reason is that they want to list multiple locations of stores in various regions. The idea of building maps for each event site and displaying them on the same page makes it more complicated. However, there are a few strategies that make the procedure go more smoothly.
How to use Google map plugin for WordPress
You can easily add your own Google Maps to your WordPress website with the help of Google Map Pugin, a free and easy-to-use WordPress plugin. Plug-ins like this offer a variety of settings, allowing you to make the exact type of map you want with various inbuilt features. There are two approaches to adding locations to your WordPress site.
Approach 1 – Adding Numerous Locations on a single page
This method involves copying and pasting the Google Maps API embed code and pasting it on a WordPress post or page. There is one drawback to this method that the user must locate the embed code for every map the user intends to display on the site. There is a necessity of having to switch back and forth from the WordPress site to Google Maps. Here’s the step-by-step approach –
Step1: The first part is to open Google Maps and search for the location or address that needs to be embedded. After locating the address on Google Maps, the next part would be to share that location using the share settings. The share settings has an extra tab called the “Embed a Map”, where the link can be copied.
Step2: The next step is working on a fresh page on the user dashboard of the WordPress. In the WordPress editor, the copied HTML link has to be added to the page by clicking the (+) icon on the dashboard of the WordPress block in which the “Custom HTML” block must be chosen. In this space, the embed code from Google maps has to be pasted. To preview how the map appears on the page, the user can do so using the “Preview” button.
Step3: Adding more locations on a single page can be done by repeating the process. The important difference is in the change of location. The user needs to search for the appropriate location in need, copy the code required to embed, and add the same in a new block for HTML on the WordPress page. The page with all the locations added can be previewed as mentioned above on the same page.
Approach 2 – Adding Multiple Locations to a Map on WordPress:
Users should now be able to use WordPress to display multiple Google Map locations on a single page. But what if they want to create a map with several pins and integrate it on their WordPress site?
Fortunately, that can be done through a few additional steps to the above-mentioned steps. They are as follows:
Step1: The starting point for this is to create a custom Google Map. Users can start by opening Google Maps and choose the “Your Places” option. Then, click the “Maps” tab, and use the Create a Map option at the bottom of the page. Name the map, since it will reflect on your page.
Step2: Users can search for locations on the Map by typing into the search bar. The location can be added by clicking the “+ Add to Map” to place a pin on the location. This step should be repeated for all the locations required by the user.
Step3: Users must first make their map public in order to access the embed code. You can now toggle on the following options:
– “Anyone with access to this link can see it”.
– “Make this map accessible through the internet so people can find it”.
After sharing the map, the three dots on the top right corner should be clicked. Following that the option “Embed on my Site” has to be chosen. The next step is to copy custom Google Maps embed code.
Step4: This is the final step. Place a map with several locations on the WordPress page. Now, create a new page, choose the Custom HTML block, and paste the copied embed code. Users can preview their website after clicking “Publish”; users now see only one map with many custom markers.
So, that’s about adding maps to your WordPress site. A premium version is available if you want features such as suggestions for routes and location searching on your maps. Nevertheless, there are enough features in the free version to add an interactive map to a WordPress site.
If you are looking for google map integration checkout wp-reppair hire developer plans

